- Categories :
- More
How To Grout A Tile Backsplash Like A Pro
By:
![]() Mr Handyman of The Woodlands
| Published 08/28/2024
Mr Handyman of The Woodlands
| Published 08/28/2024
The thing to keep in mind about tiling is that there are three parts to the project: First you prep the drywall, than you tile, and lastly you grout. Grout will be the final step in your tile installation process. Once you’ve prepped your wall for tile installation and installed your tile, learn how to finish it off with a professional grout job.
Grouting can make or break your kitchen backsplash project. Even a perfect tile job can be effectively ruined by a poor grout job. But a clean, professional-looking grouting job can be the finishing touch that completely transforms the look and feel of the space.
Keep reading to learn the tips and eight easy steps you need from Mr. Handyman to grout tile backsplash like a pro …
STEPS FOR GROUTING BACKSPLASH
Let’s break down the process for grouting backsplash:
First, Select the Grout
Grout Type
The type of grout you should use largely depends on the gap size between tiles. For easier installation shop for a high-quality grout that does not require a sealant thanks to polymers in the mix. You will need to choose between the following types of grout:
- Unsanded: Featuring a smoother texture with fine sand powders, this is a good choice if you do not desire a gritty look to your grout. Use unsanded grout only if you have narrow seams (less than 1/8-inch wide). Using unsanded grout with wider seams may result in cracking because it does not have the binding power of sanded grout.
- Finely sanded: This grout option is ideal for tiles with medium-sized joints (between 1/8-inch to 3/8-inch wide). It contains sand that increases durability and reduces shrinkage.
- Quarry type: This is a cement-based grout ideal for grouting treated terracotta tiles, quarry or slate tiles or if you have wider grout joints between tiles (3/8-inch to ½-inch wide).
- Epoxy: Made of an epoxy resin and hardener, this type is less porous and stain-resistant, making it ideal for kitchens where it will have exposure to acids and grease. Epoxy grout dries quickly and is hard to work with, which is why recommend you avoid it.
Grout Color
The right grout color selection will help deliver an attractive, visually cohesive result. To make the right choice, consider the following:
- White grout is likely to show grease and grime more than a dark gray grout. However, white grout can still add to the look of your backsplash as long as you’re up to the task of keeping it clean.
- Grout that is darker than the tile will be more forgiving when it comes to stains in the kitchen and will also provide eye-appealing contrast with lighter tiles.
- A soft gray grout can highlight the pattern of the tile, and doesn’t show stains as much as white grout will.
- Colorful grout can create an eye-popping aesthetic and provide a fun look to your kitchen backsplash, particularly if it picks up on a color in the tiles.
Then Begin Grouting the Backsplash
Now that you’ve decided on your grout type and color, it’s time to begin the application:
First, gather the materials:
- Plastic sheeting
- Painter’s tape
- Grout
- Grout sealer (if required)
- Caulk
- Grout float
- Putty knife
- Two buckets
- Sponge
- Cloth
Next, get to work:
- Protect your countertops with the plastic sheeting, securing the corners with the painter’s tape.
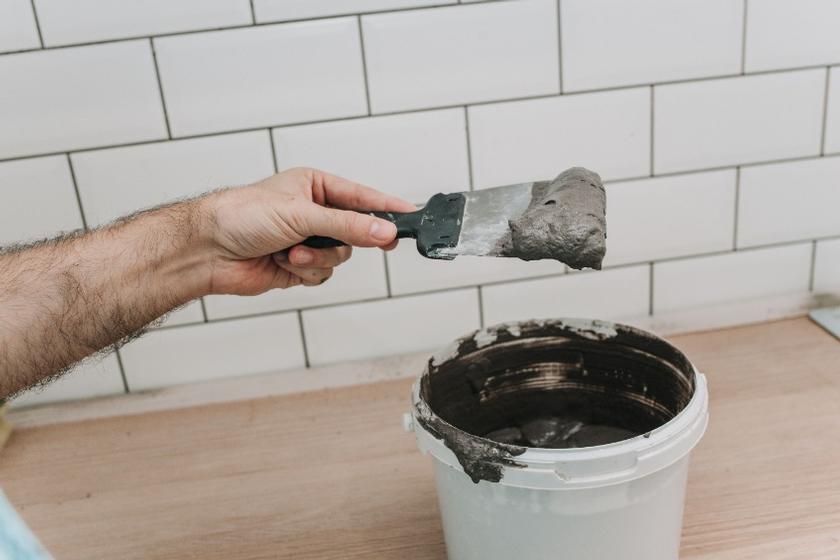
- Use your putty knife to mix the grout in one of the buckets. Follow the directions on the packaging. Mix until the grout is the consistency of peanut butter. Only mix enough grout to work in a small area. This will prevent the grout from hardening before you can use it all.
- Work in small areas to begin applying the grout. Spread it over the tiles to fill the joints using the grout float. Use a 45-degree angle, spreading the grout firmly in an upward direction.
- Allow the grout to dry for 15 minutes.
- Fill the second bucket with warm water, then use the sponge and the water to wipe away the excess grout from the tiles.
- Allow the grout to a thoroughly dry (at least a few hours). Once completely dry, take the cloth and wipe away any remaining grout film from the backsplash tiles.
- After waiting at least 24 hours, seal the grout using the sealer product and a clean cloth if required. Always allow the sealant to cure before using the area.
- Caulk the backsplash along the windows, any corners, and along countertops by applying beads of caulk.
After the caulk is dried, your project is complete. Enjoy your beautiful kitchen backsplash!
If you need help grouting the backsplash or need professional assistance with other kitchen improvement projects, reach out to the local experts at Mr. Handyman. Call (877) 685-1377 or schedule service online now.